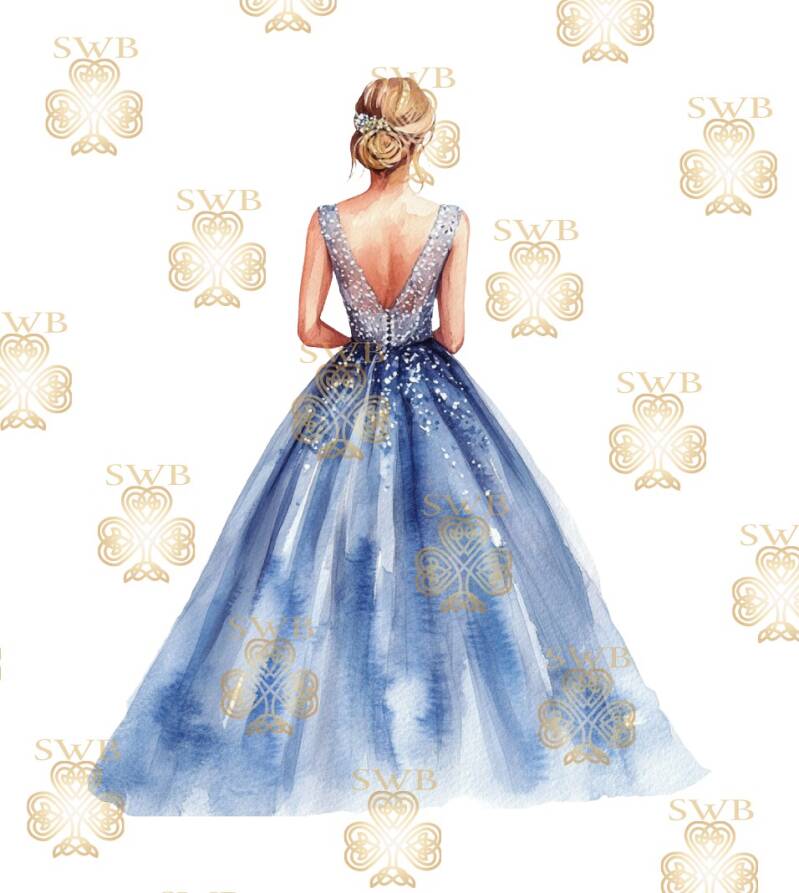
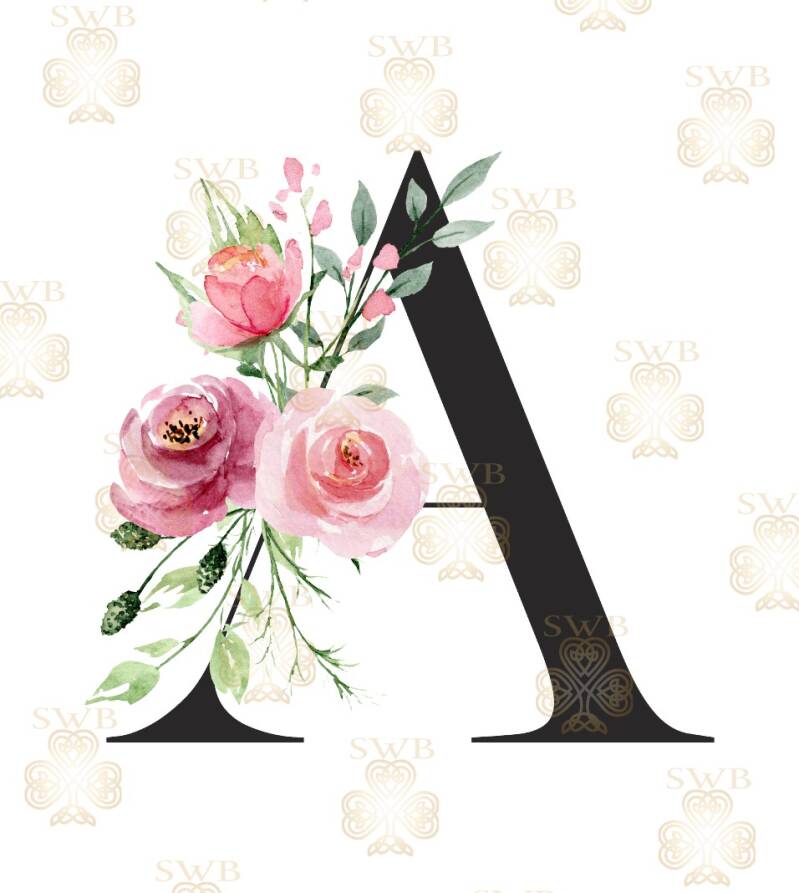
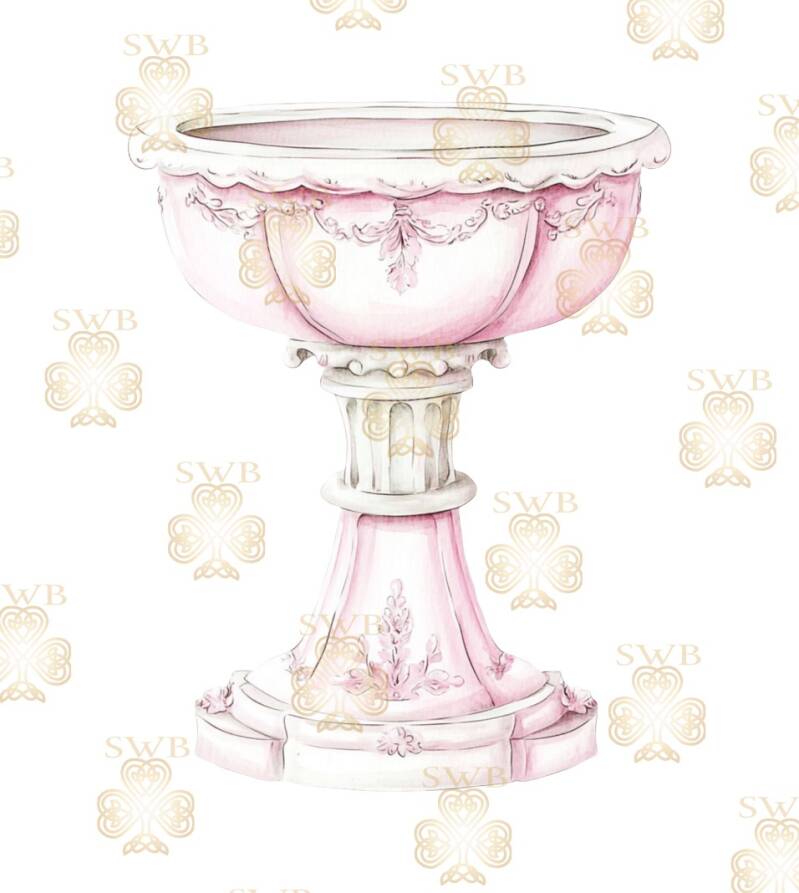
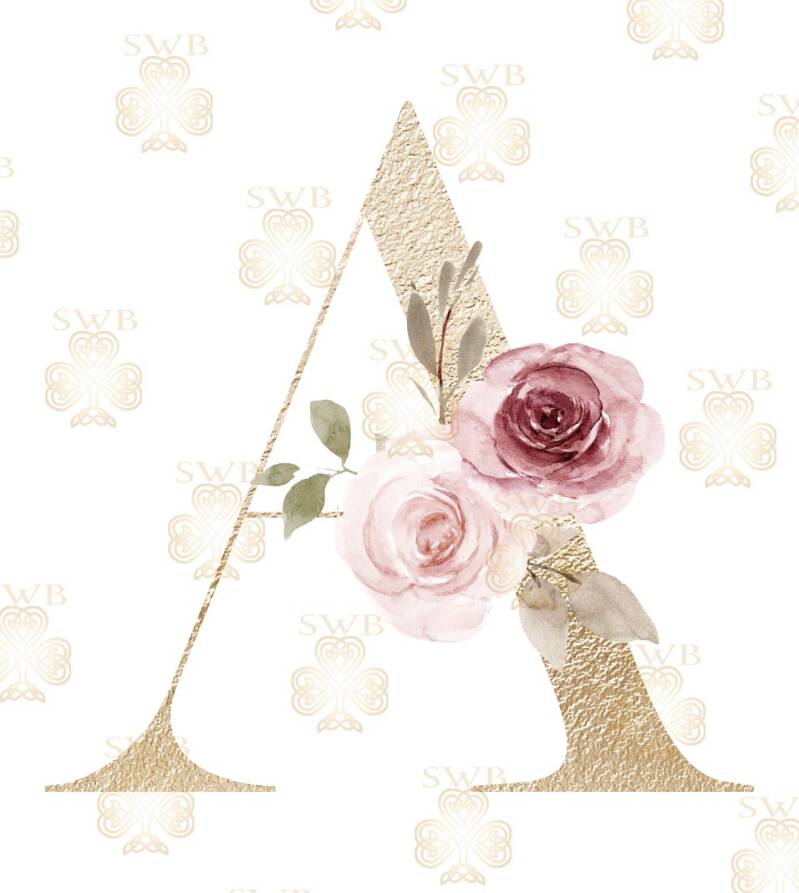
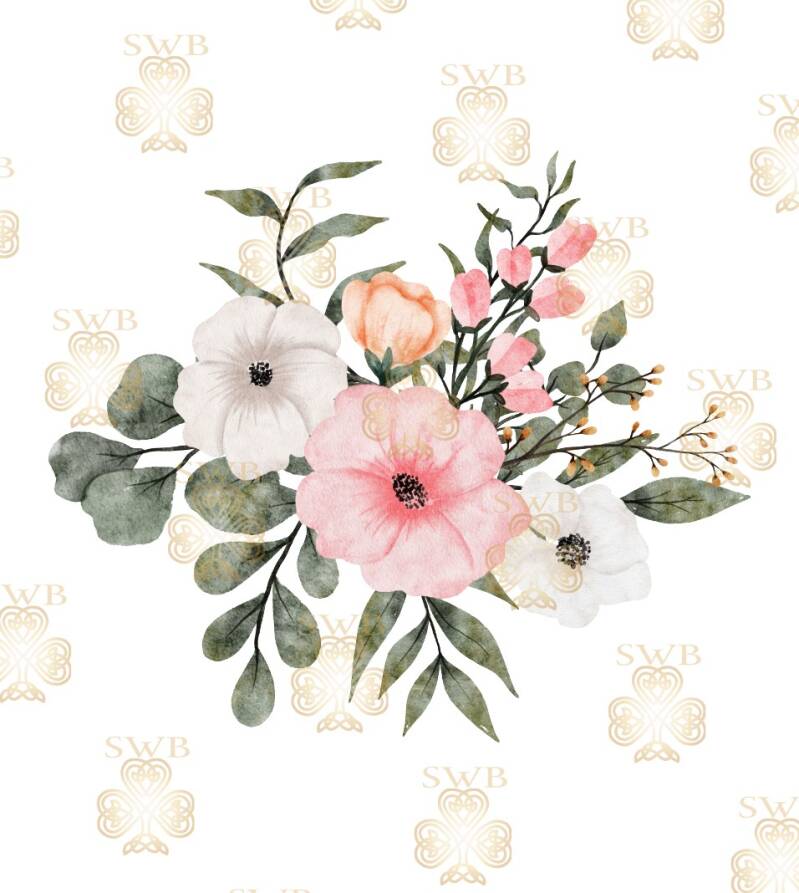
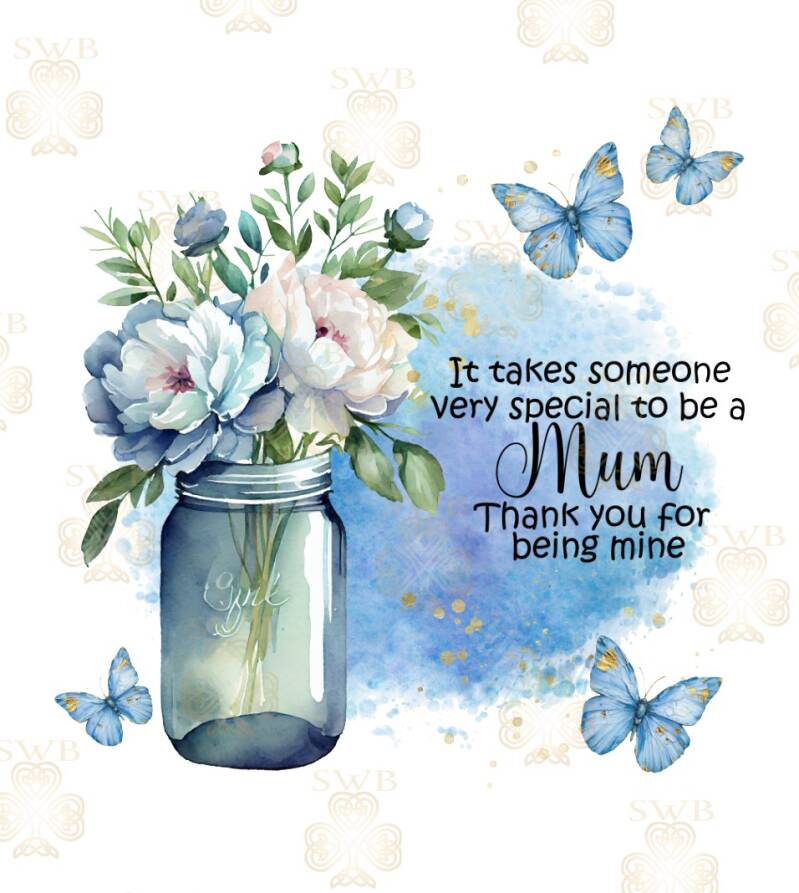
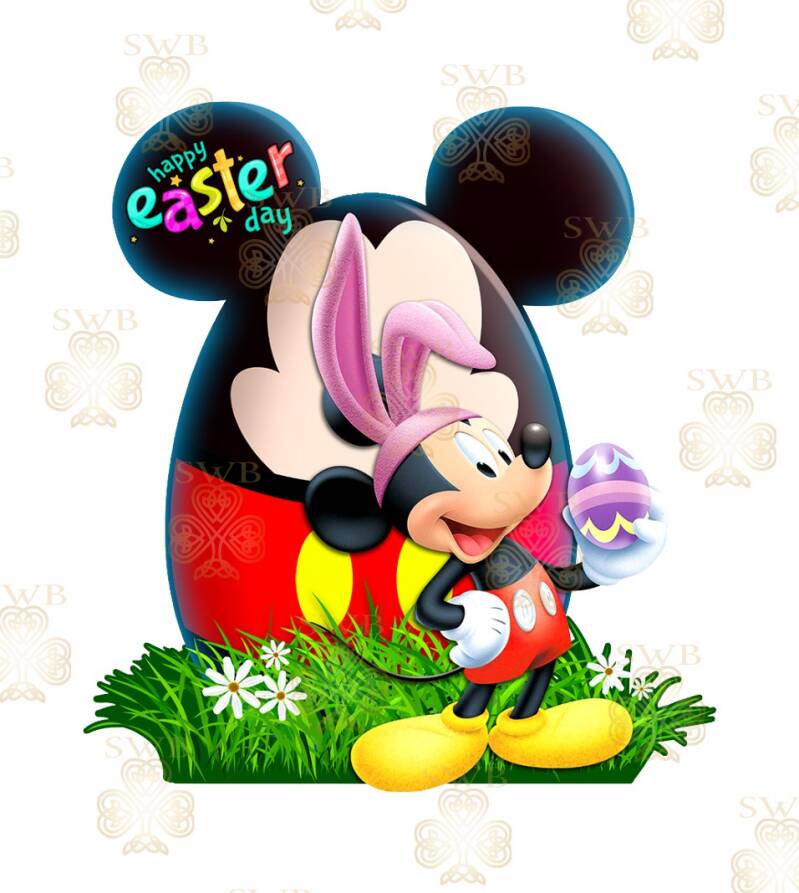
PRINTS: DTF, UVDTF & Sublimation
Please ensure you select the correct print media you would like to order: DTF or UVDTF or Sublimation
All images will be resized proportionately to height selected
Please see application recommendations below


Please Ensure You Choose the Correct Size for your Product/Garment - Our Size Recommendation Guide can be found here: 📏Size Charts
All of our Images below are also available to use in our Gang Sheet Builders
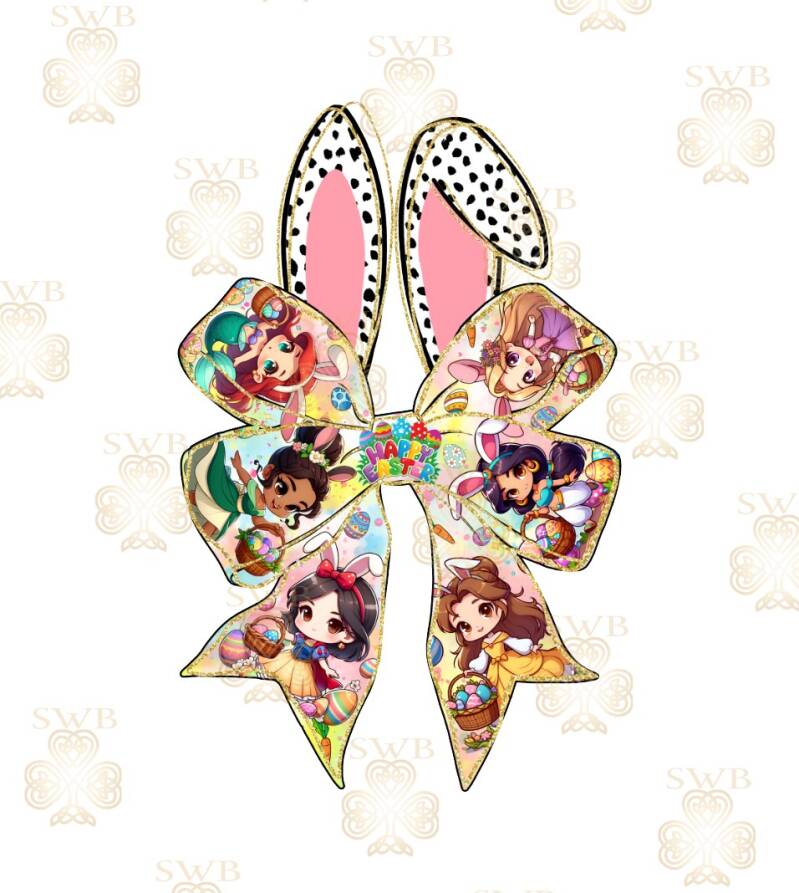
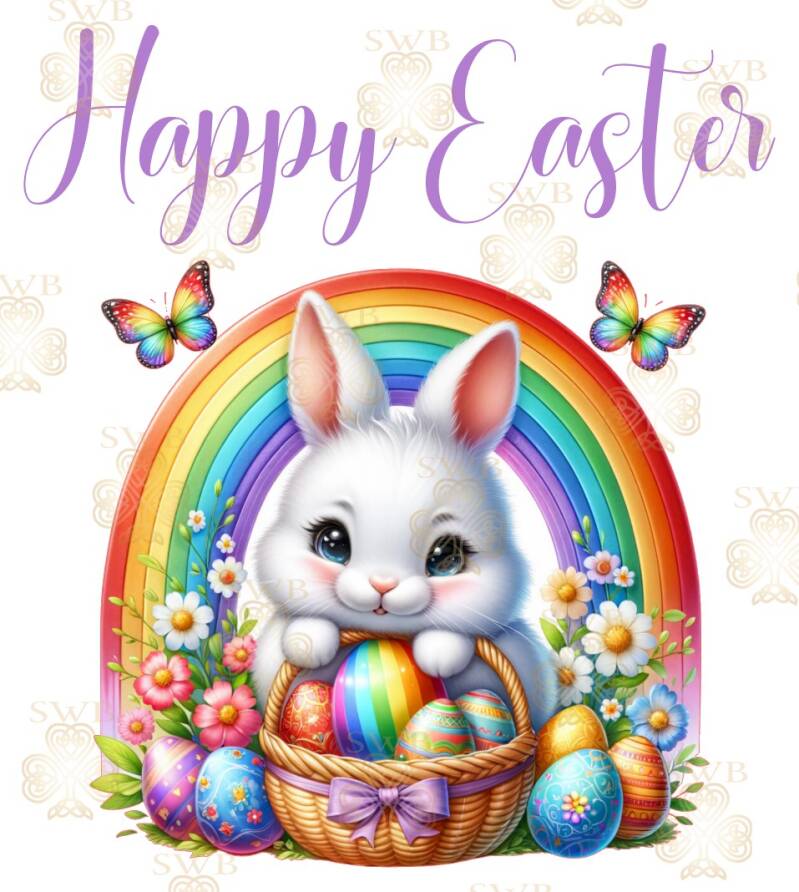
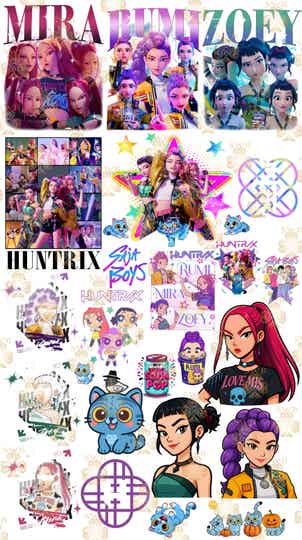
Ready To Print Files
-Choose DTF, UVDTF or Sublimation, then Choose a size to be printed
Click any option below for more images


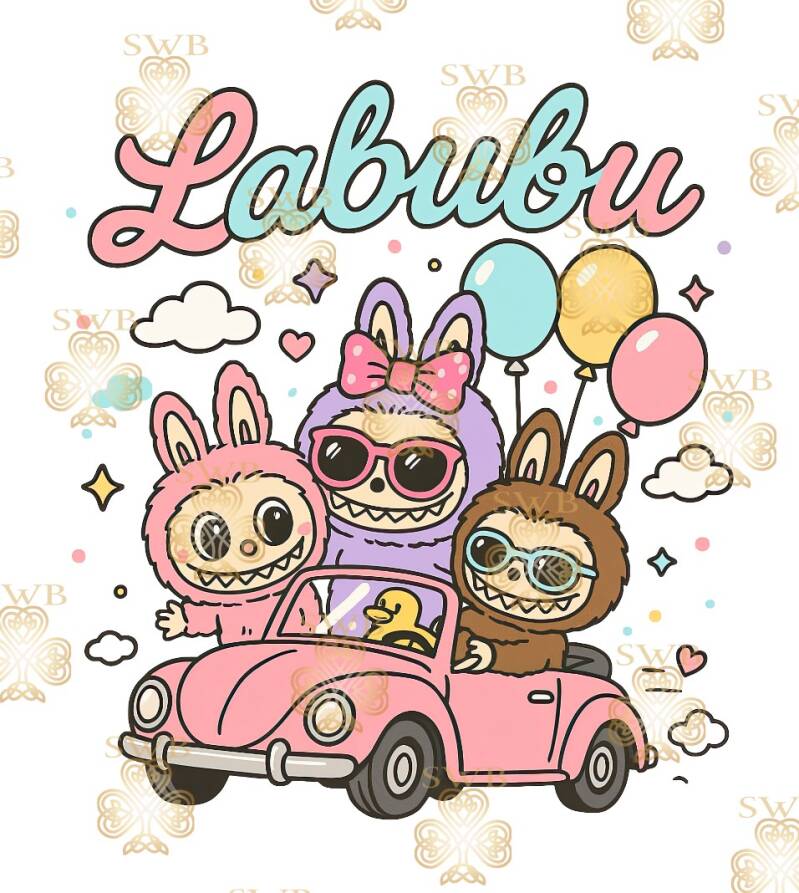


Ready Made Gang Sheets
-
 -Labubu Gang Sheet -1 Meter €18.50
 -
 -Grinch Gang Sheet -1 Meter €18.50


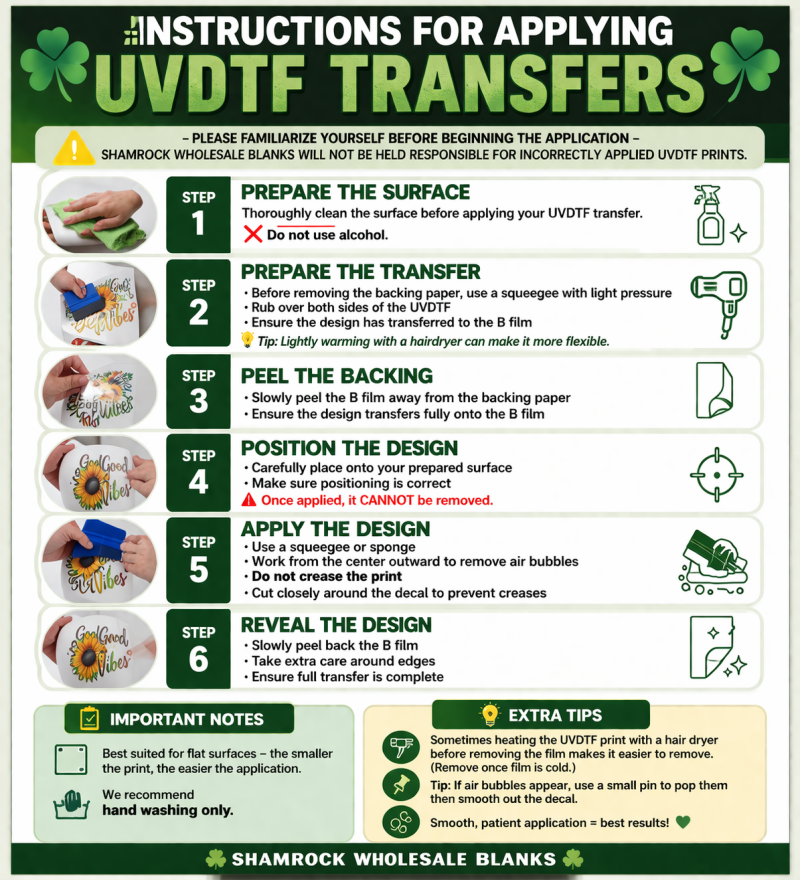
Instructions for Applying Prints- Click to expand
UVDTF APPLICATION
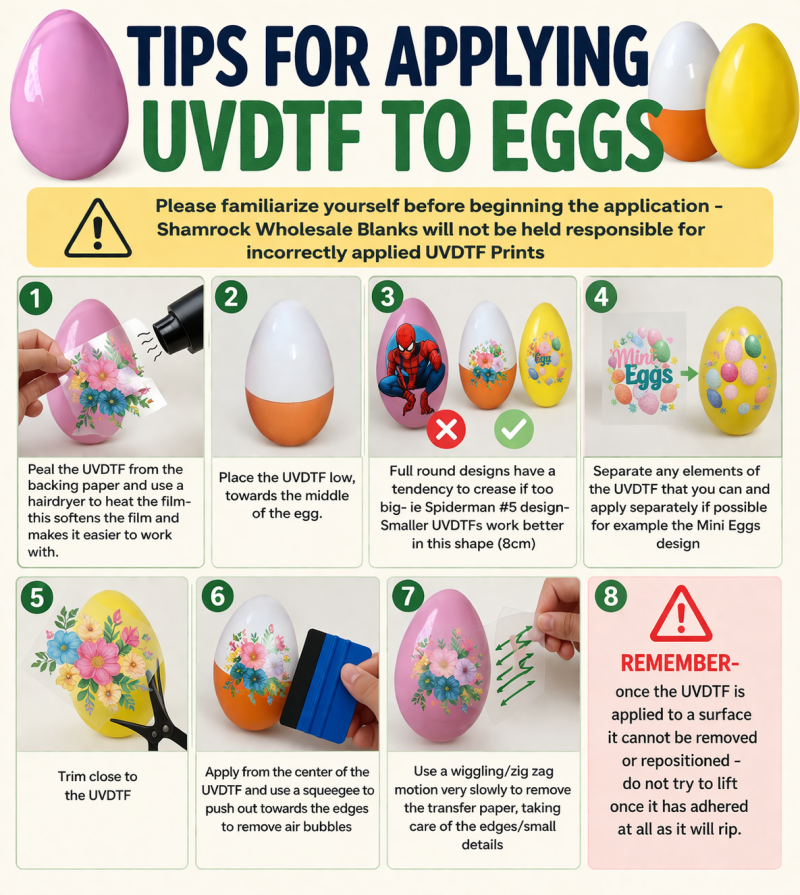
APPLYING UVDTF TO EGGS
DTF PRINT APPLICATION

DTF PRINT GARMENT CARE
